Blade inspection procedure
🎯 Learning Objectives
By the end of this chapter, you will be able to:
- Understand the two-phase inspection process: calibration and automatic flight
- Explain the purpose and requirements of the 6-point calibration
- Identify the critical safety distance (3m minimum)
- Recognize sources of trajectory errors (GPS drift, barometer, calibration errors)
- Understand why certain flight moments require extra vigilance
⏱️ Estimated time: 12-15 minutes
Overview
Now that we’ve seen how to control the parameters of the camera, let’s dive into the actual procedure! The inspection is done in two steps :
- the calibration (in manual flight)
- the automatic flight
Calibration
This first step is required to build a 3D model of the turbine. Here, the pilot has to fly the drone manually, to 6 different points in front of the turbine : 3 on the hub and 3 on the tips of the blades.
To capture the calibration point, move the drone in front of the turbine, then aim for the correct spot and bring the drone closer, to less than 5 meters. On the hub, the points should be about 1m away from the ring (the base of the blade). On the tips, aim for about 1-2m away from the actual tip, otherwise the sensors will not detect the blade.
⚠️ Important
Quiz
What is the purpose of the calibration phase?
Single answer
What is the maximum distance to perform the calibration ?
Single answer
Why is it important to have accurate calibration points?
Multiple answers
Trajectories
Once the calibration is completed, the 3D model of the turbine is generated and an inspection trajectory is computed. The drone then flies along this trajectory while continuously capturing images. It is important to note that the trajectory is a straight line and does not exactly follow the curved shape of the blade. As a result, the distance between the drone and the blade will vary along the flight path. For this reason, the pilot may need to slightly adjust the flight distance during the inspection to compensate for the blade’s curvature and maintain optimal image quality.
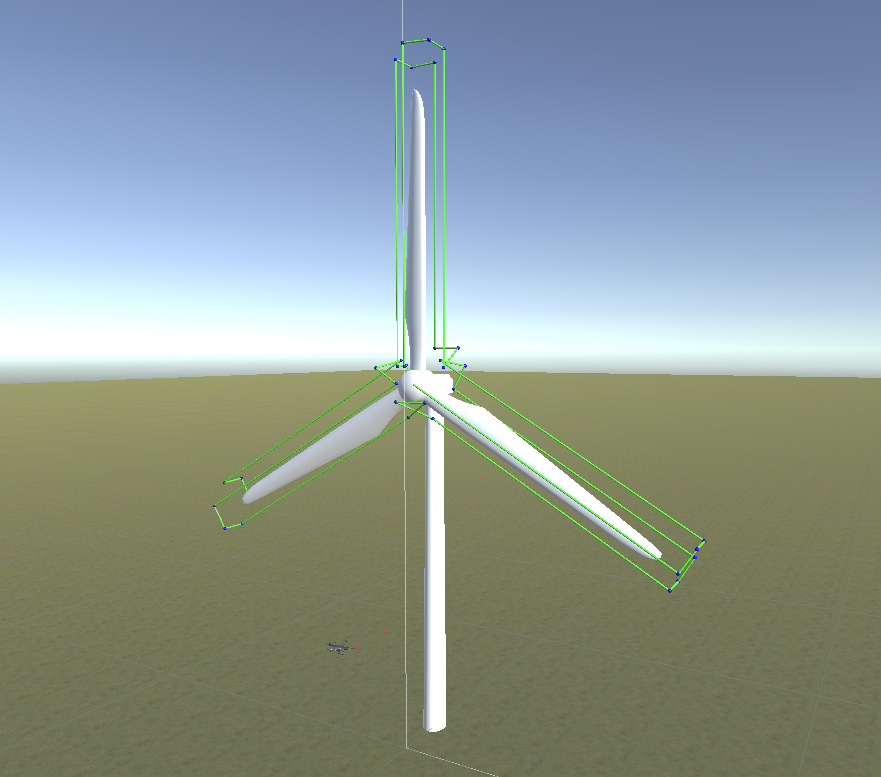
Let’s look at it in more detail. Here is an overview of the automatic flight.
Quiz
What is the inspection sequence logic during automatic flight?
Single answer
Why should the drone never be less than 3 meters from the turbine?
Multiple answers
💡 Critical Safety Rule
What happens if hub calibration points are placed incorrectly (too far apart or too close)?
Single answer
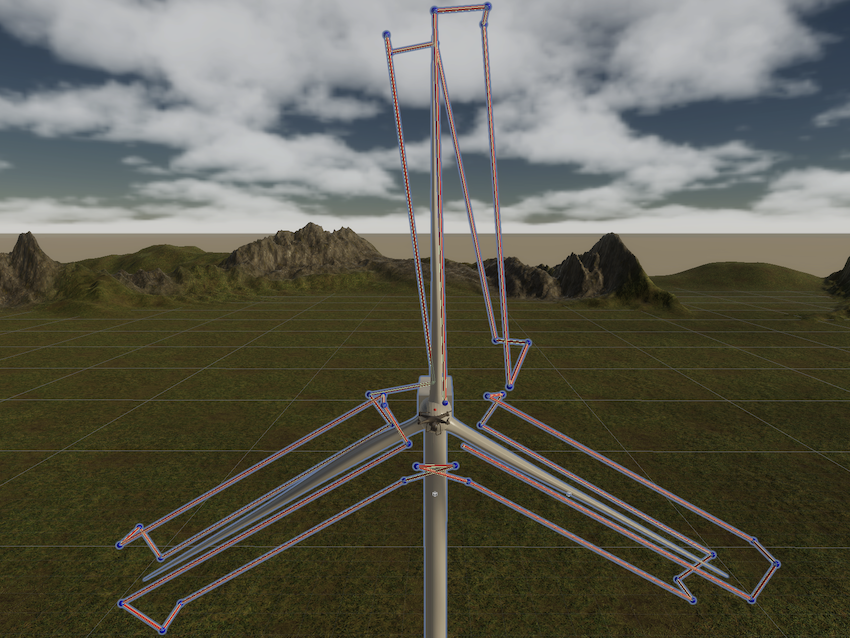
Because the trajectory is computed solely based on the calibration points, small errors in them can result in a mis-shaped trajectory. For example if the HubLeft and HubRight are taken too far apart, the drone will not take pictures all the way to the base of the blade, especially below.
Here is an example where the HubTop point was taken with an angle (not looking straight in front of the turbine).
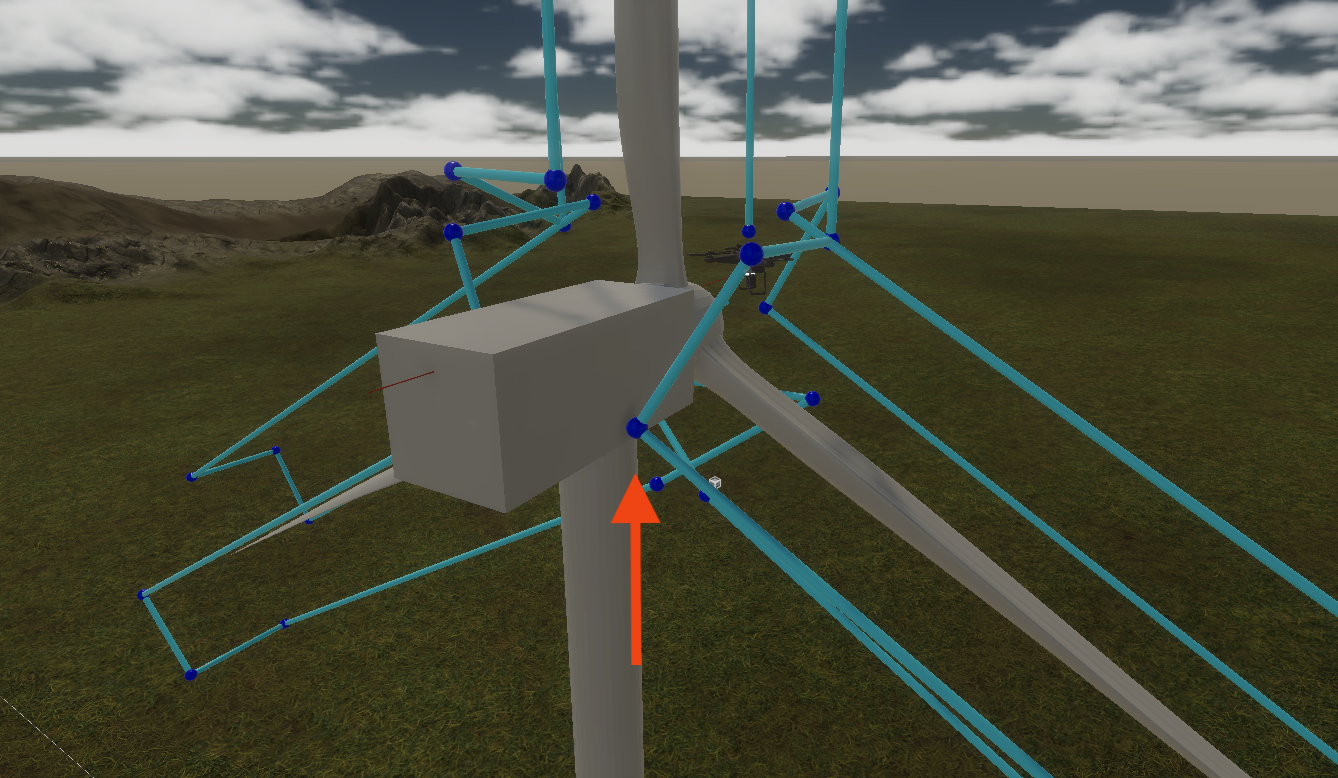
And here the points were taken too close to the hub.
| HubLeft | HubRight |
|---|---|
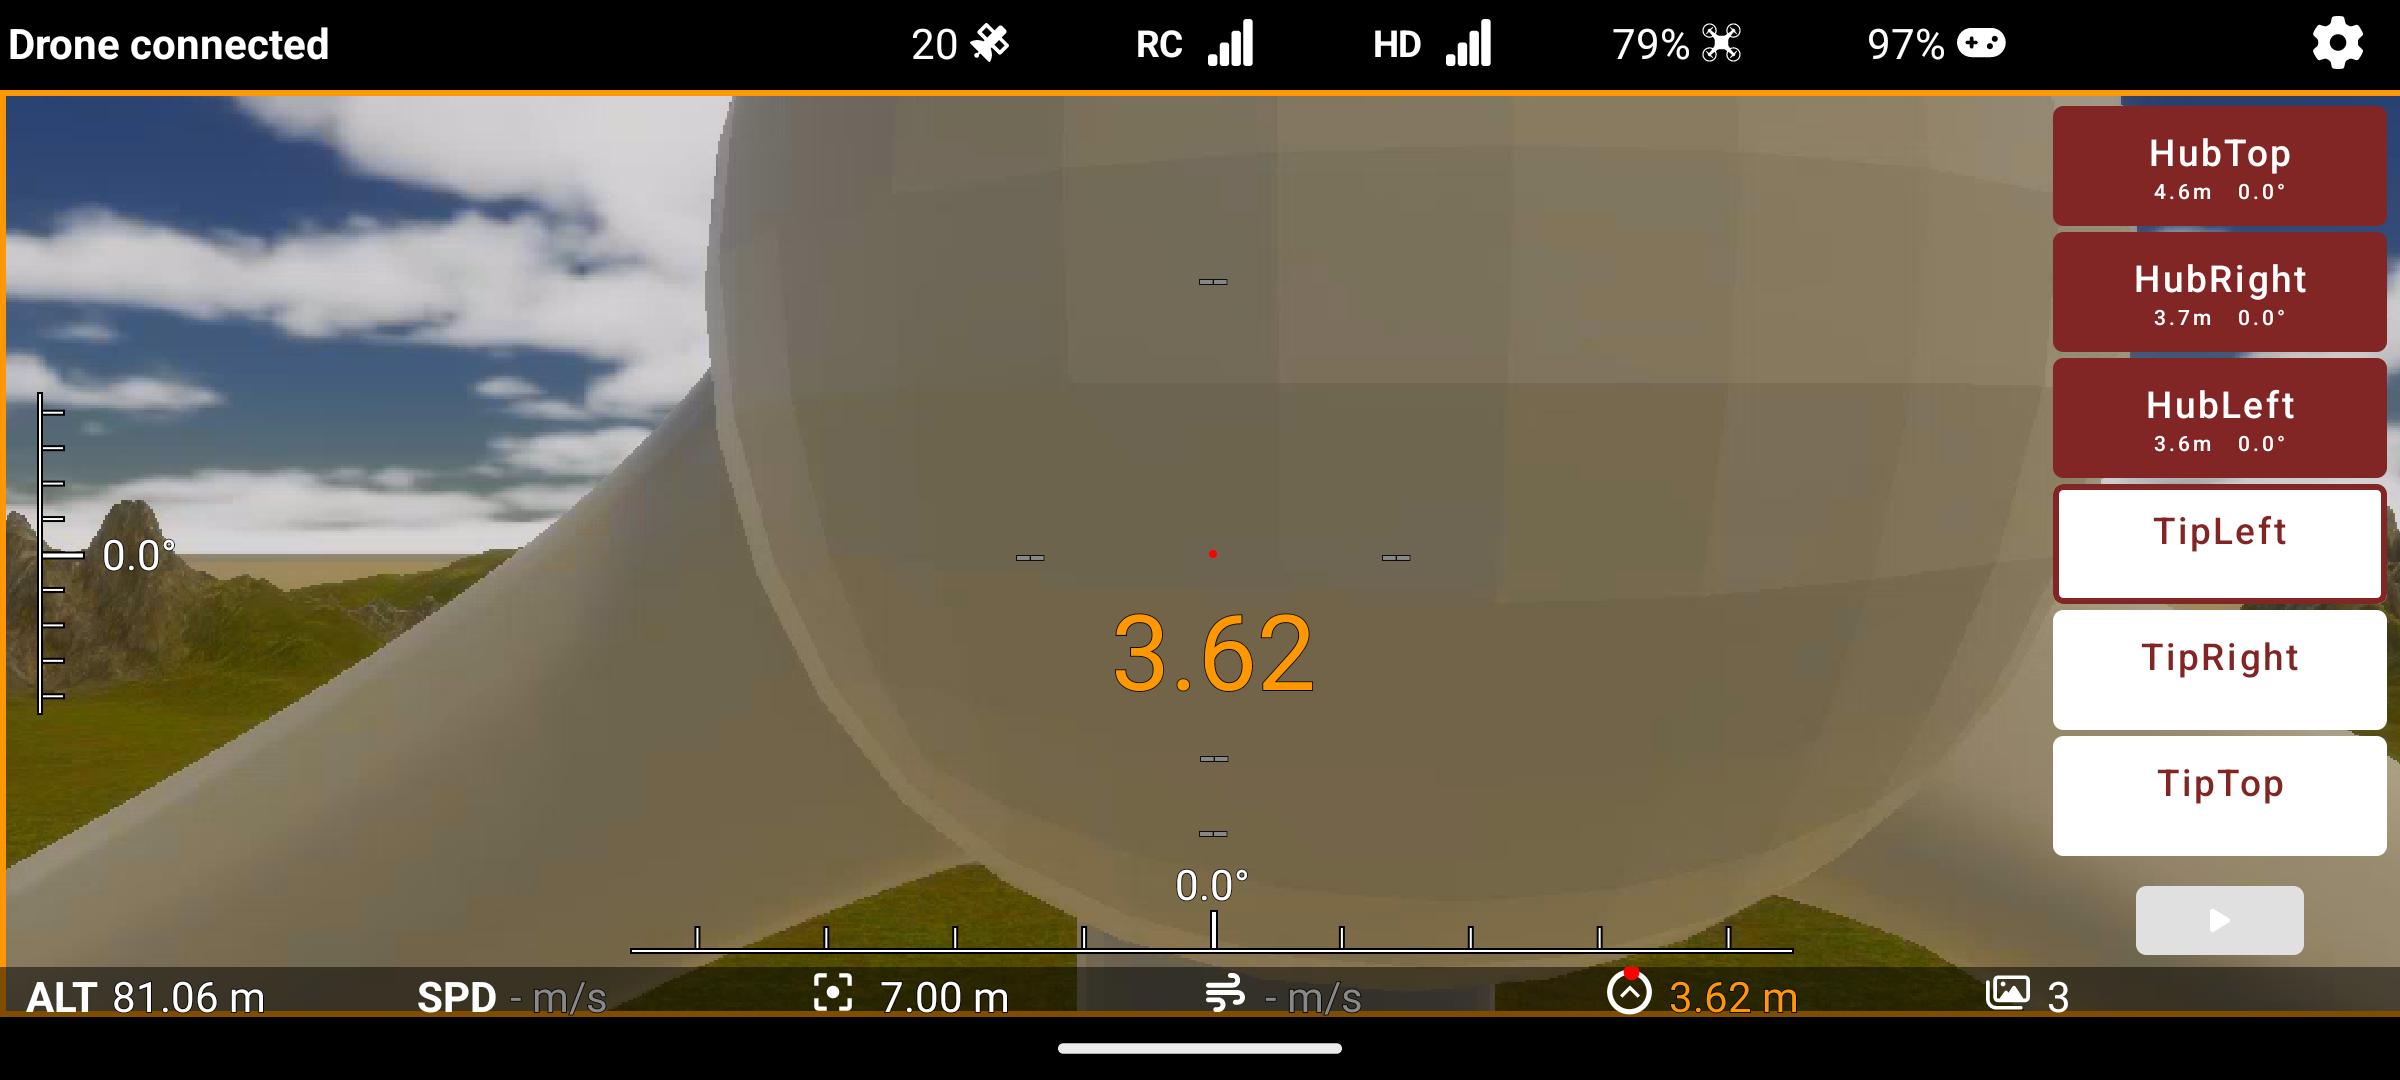 | 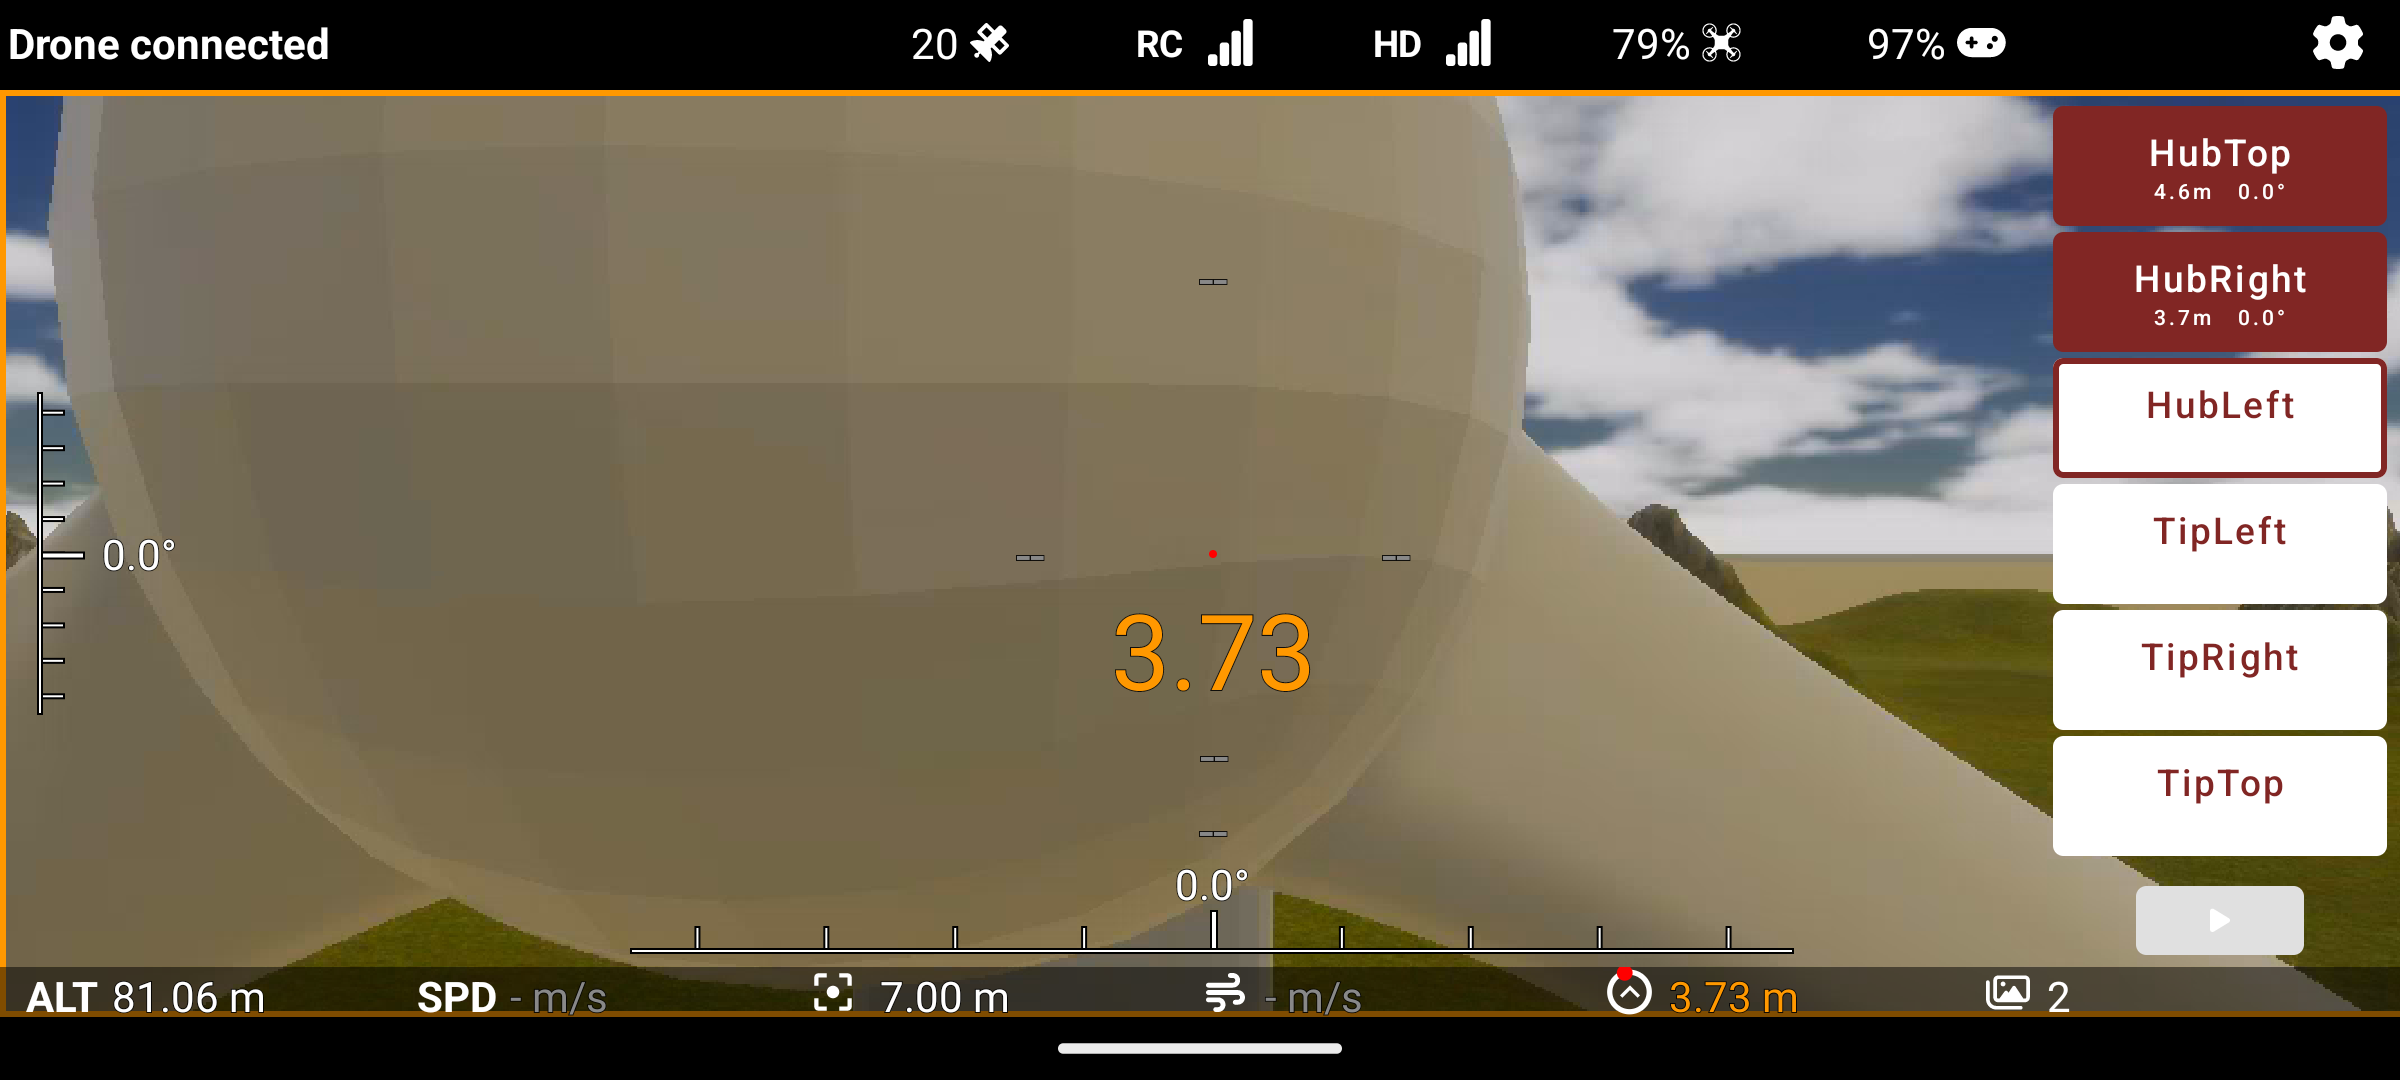 |
On the trajectory, we observe that it gets really close to the nacelle, almost touching it : the drone would collide if it followed this trajectory.
Quiz
What is the minimum distance between the drone and the turbine ?
Single answer
Why are certain points during the flight considered critical (e.g., Left TE start, blade transitions)?
Multiple answers
What information do the distance sensors provide during inspection?
Single answer
⚠️ Understanding Sensor Limitations
Quiz
What are the main sources of trajectory errors during automatic flight?
Multiple answers
Why does GPS have limited precision for drone positioning?
Single answer
What atmospheric factor can affect the barometer’s altitude reading?
Single answer
✅ Chapter Summary
Great work! You now understand the blade inspection procedure. Let’s recap the essential points:
🎯 Key Points to Remember
Two-phase inspection process:
- Calibration: Manual flight to 6 points (3 hub + 3 tips) at <5m distance
- Automatic flight: Drone follows computed trajectory taking pictures
Calibration requirements:
- Hub points: ~1m from blade ring
- Tip points: 1-2m from actual tip
- Maximum distance: 5m (can be closer, minimum 3m)
Safety distance: Never go below 3 meters from turbine
Trajectory characteristics:
- Computed from calibration points
- Straight line (doesn’t follow blade curvature)
- Distance varies along flight path
- Errors in calibration = misshapen trajectory
Sources of trajectory errors:
- GPS drift (±1.5m precision)
- Barometer atmospheric pressure variations
- Misplaced calibration points
Critical flight moments requiring vigilance:
- Transitions between blades
- Near nacelle (Left TE start, Right TE end)
- Maneuvering between blades
💭 Before moving on…
Make sure you understand:
- Why calibration accuracy is critical for safe flight
- The 3-meter safety rule and when it’s most at risk
- How sensor limitations can cause trajectory drift
Ready to learn about flight corrections? Next chapter!