Introduction to photography
🎯 Learning Objectives
By the end of this chapter, you will be able to:
- Understand the concept of Ground Sampling Distance (GSD) and why 1mm/px is critical
- Explain how the three exposure parameters (shutter speed, aperture, ISO) affect image quality
- Use histograms to assess proper blade exposure
- Understand depth of field and focusing principles for sharp defect detection
⏱️ Estimated time: 15-20 minutes
Introduction
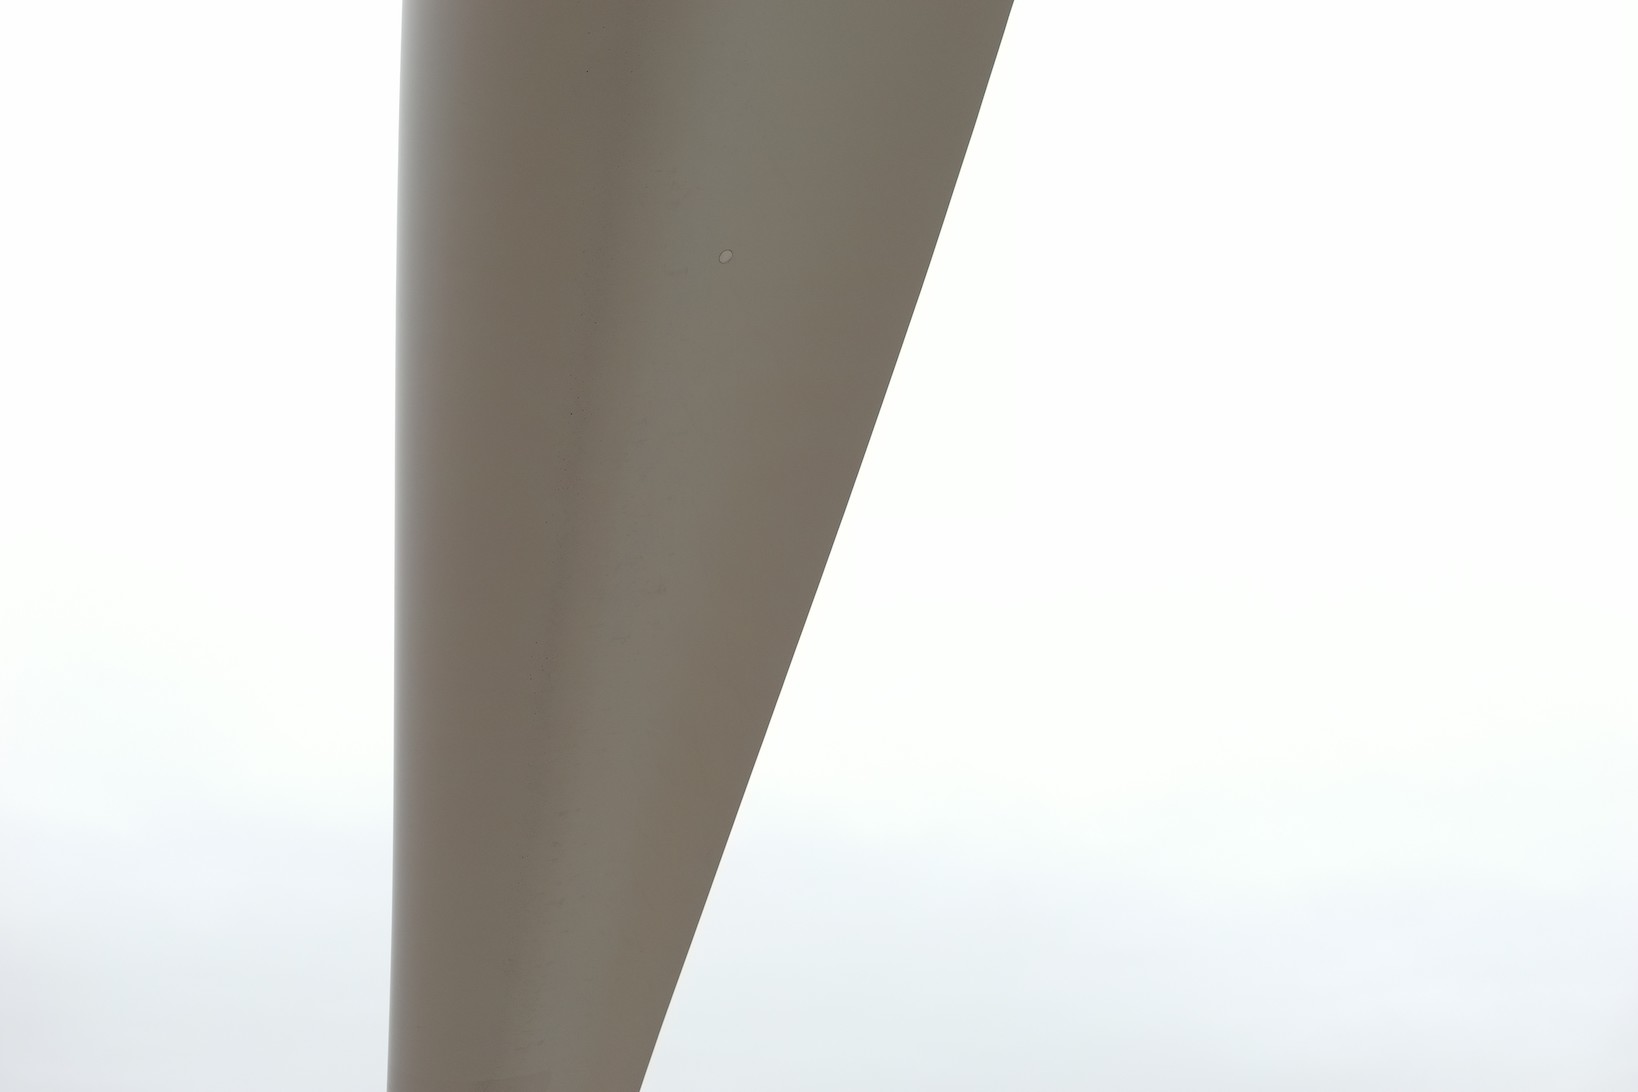
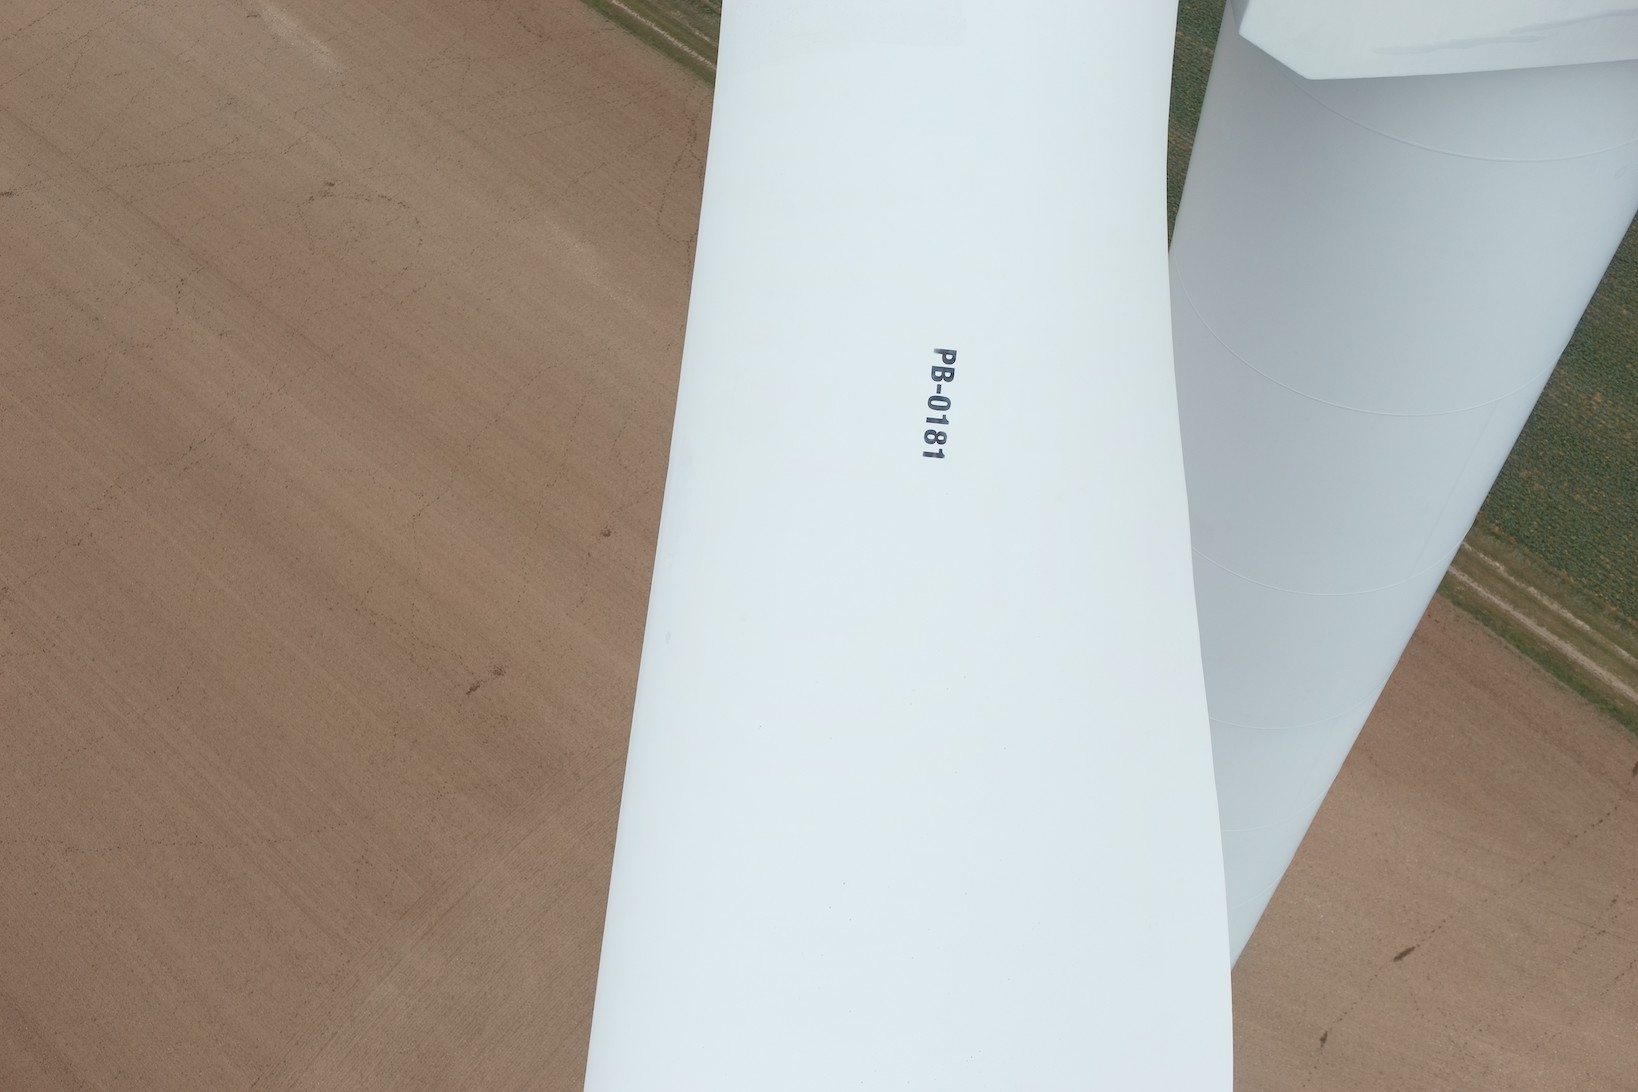
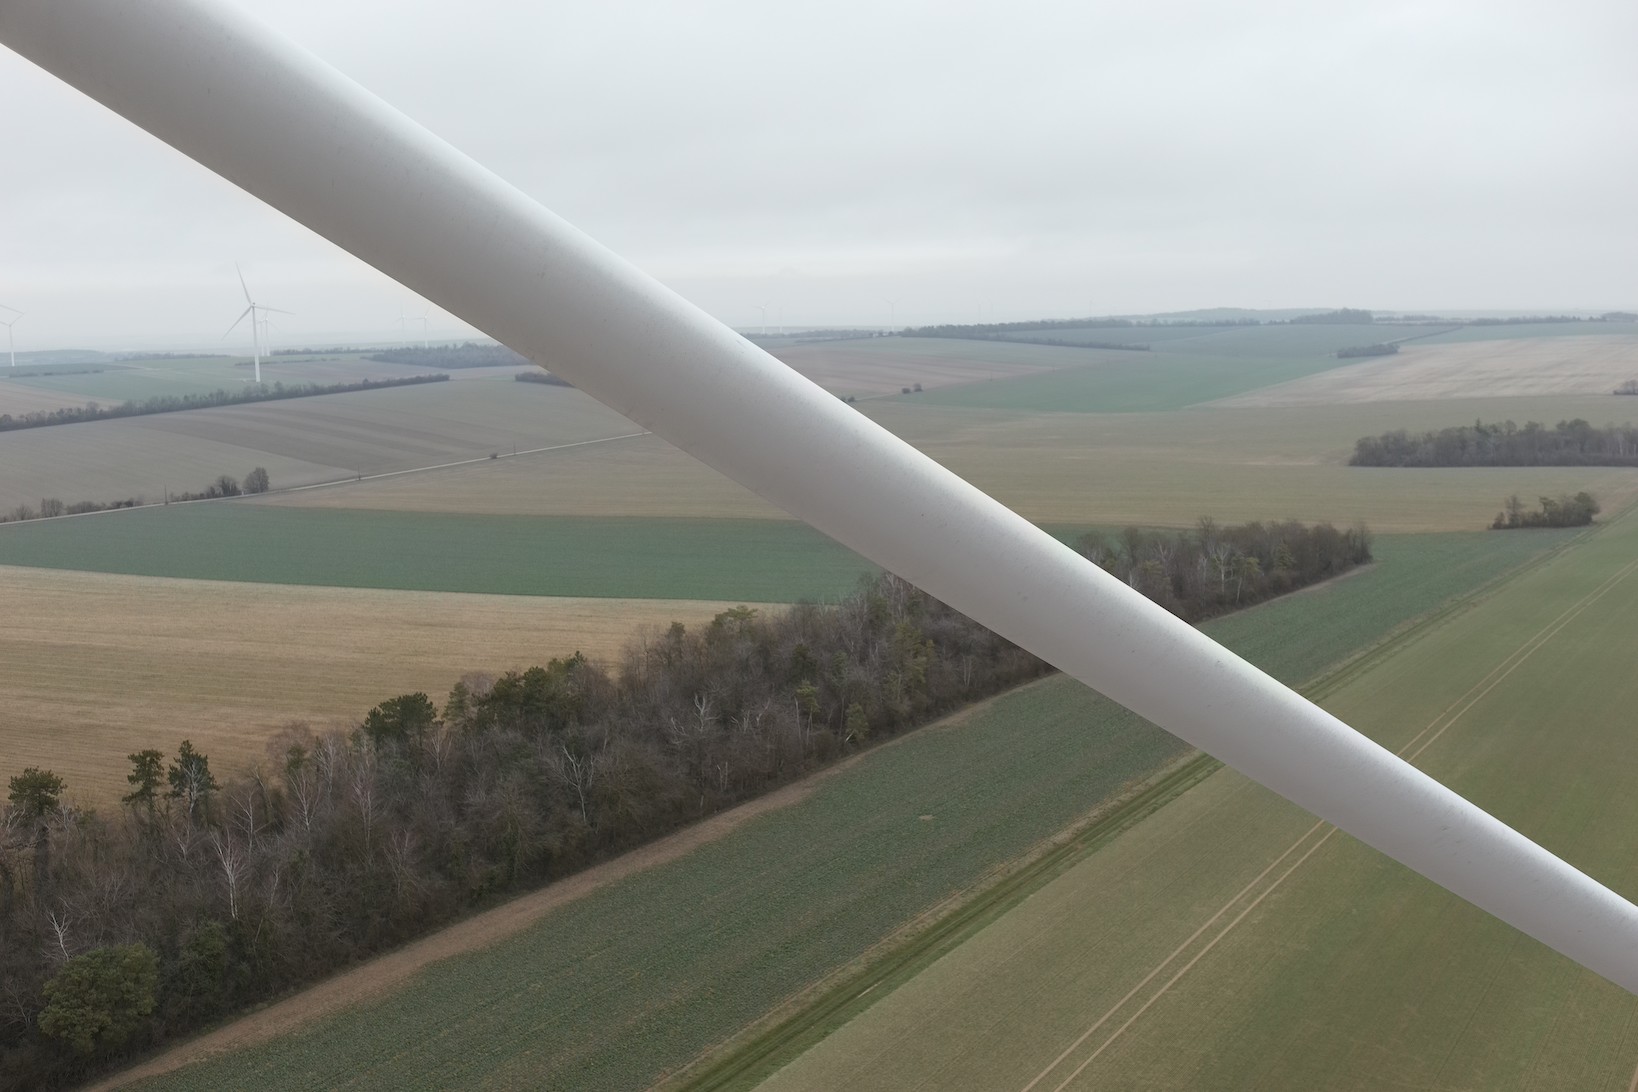
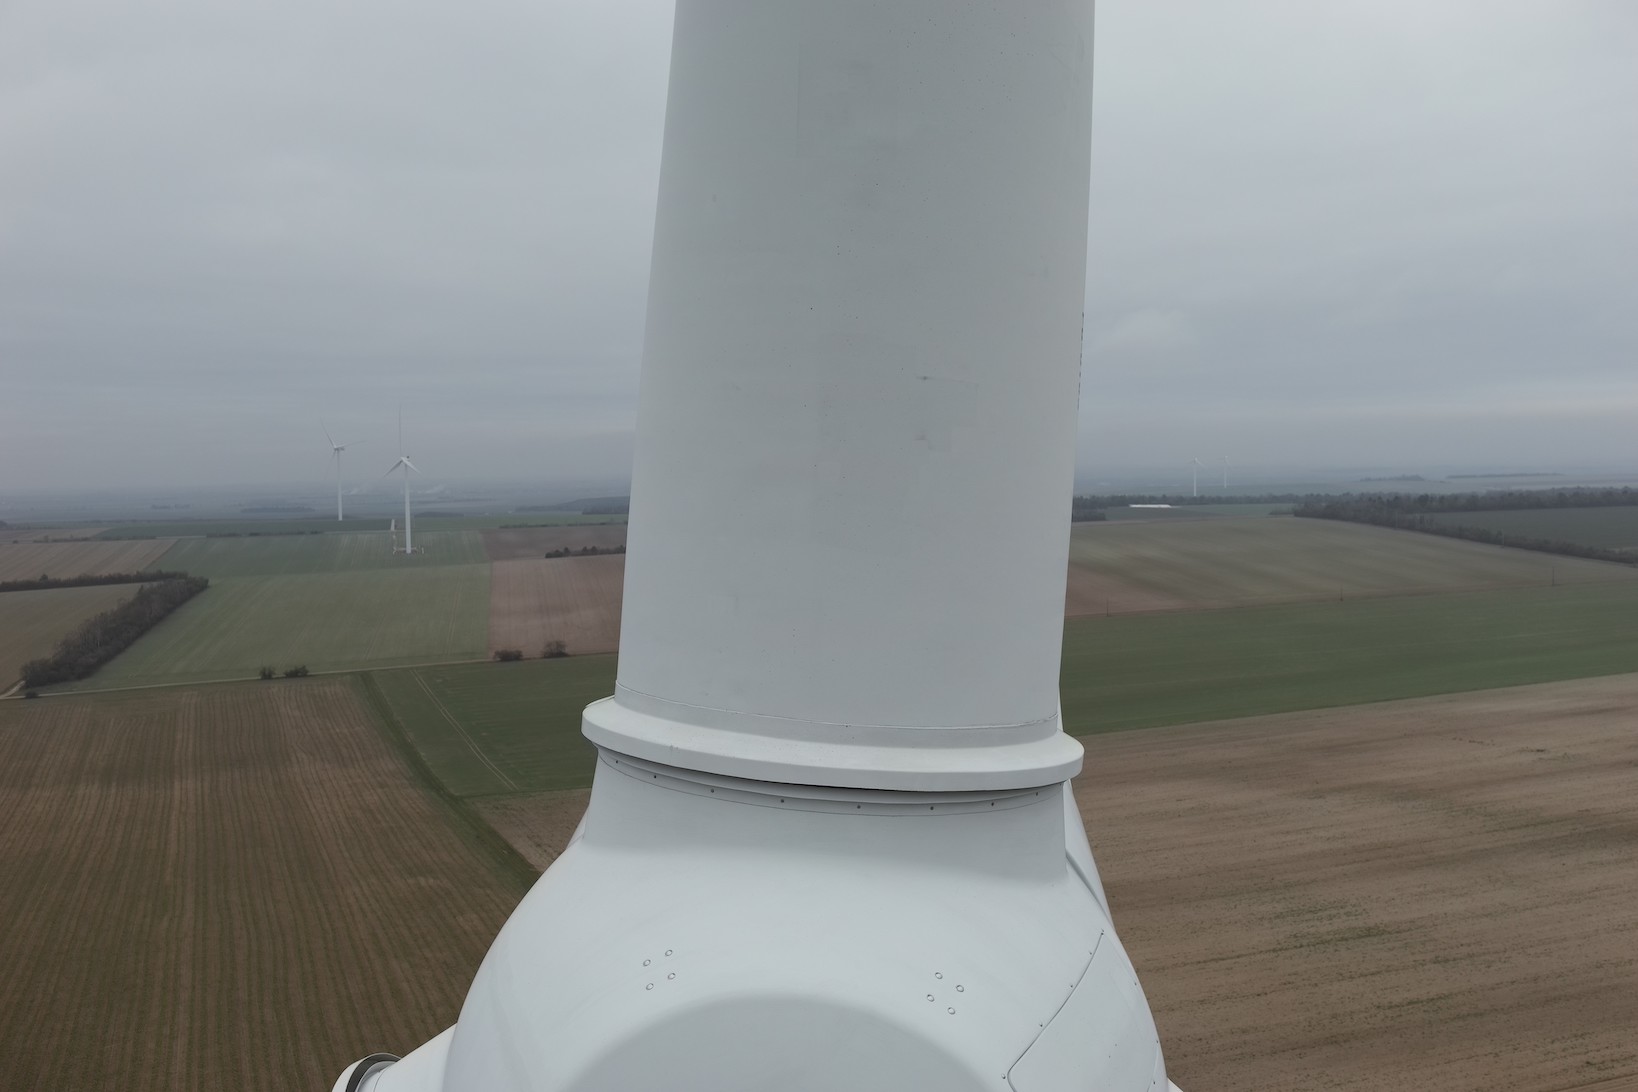
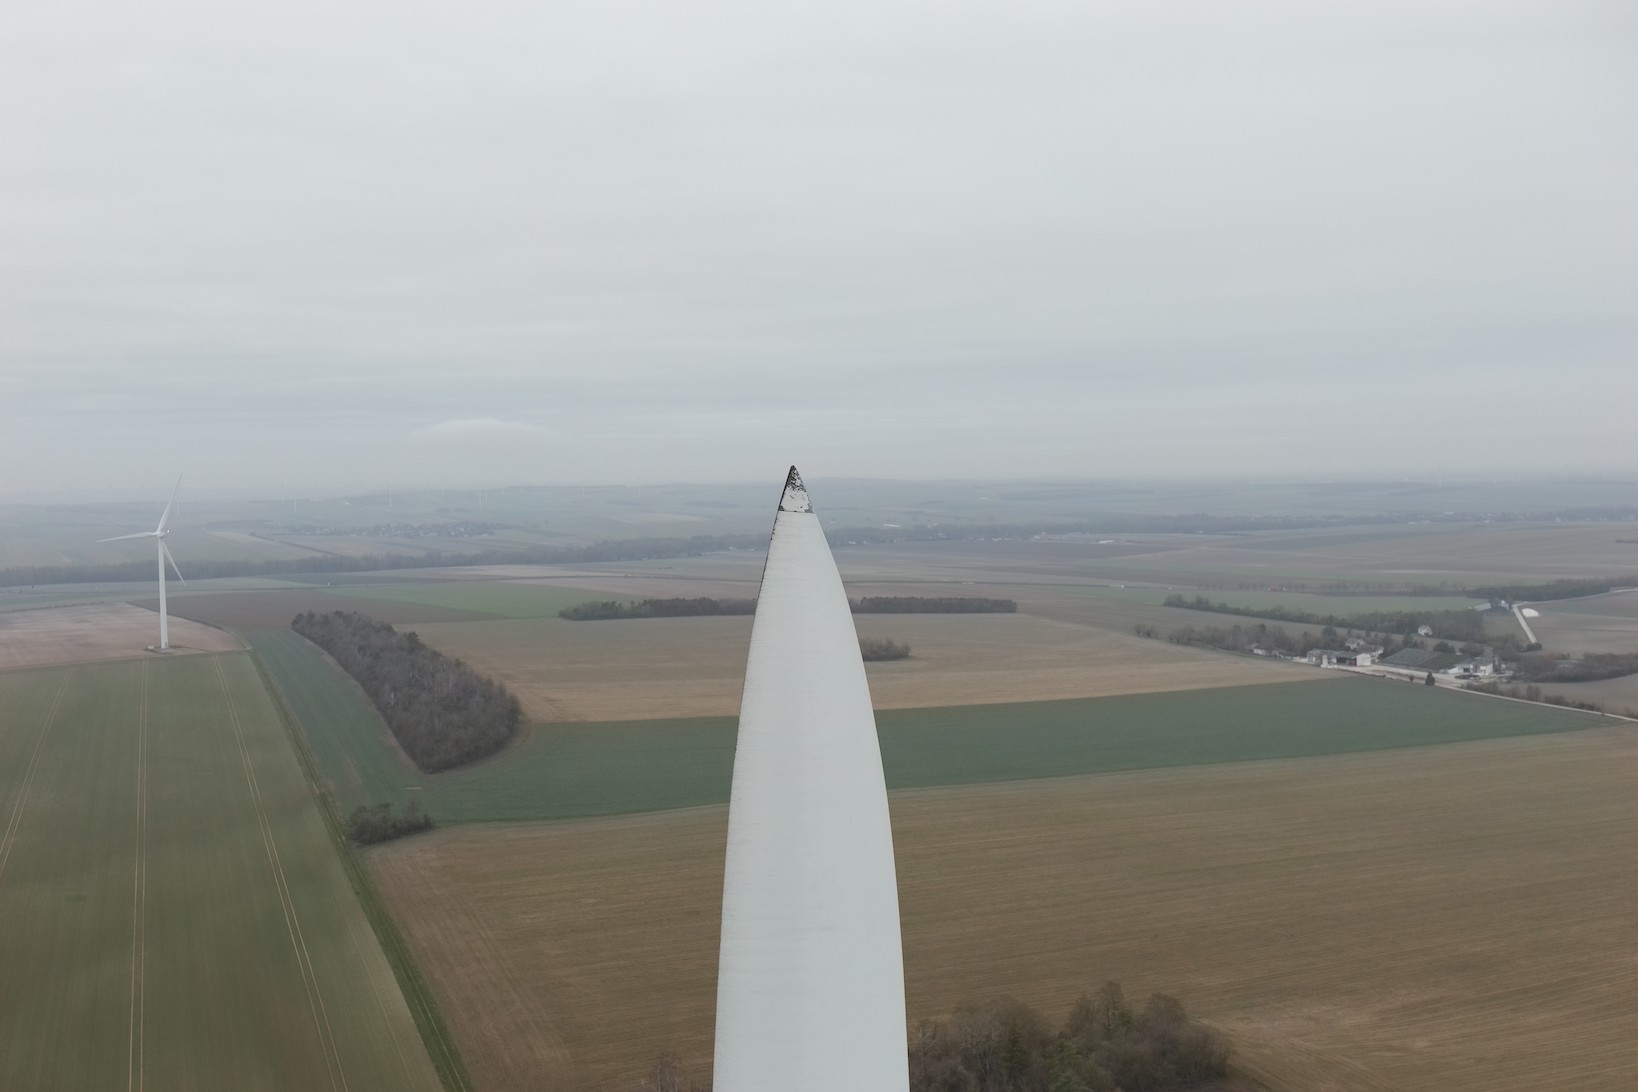
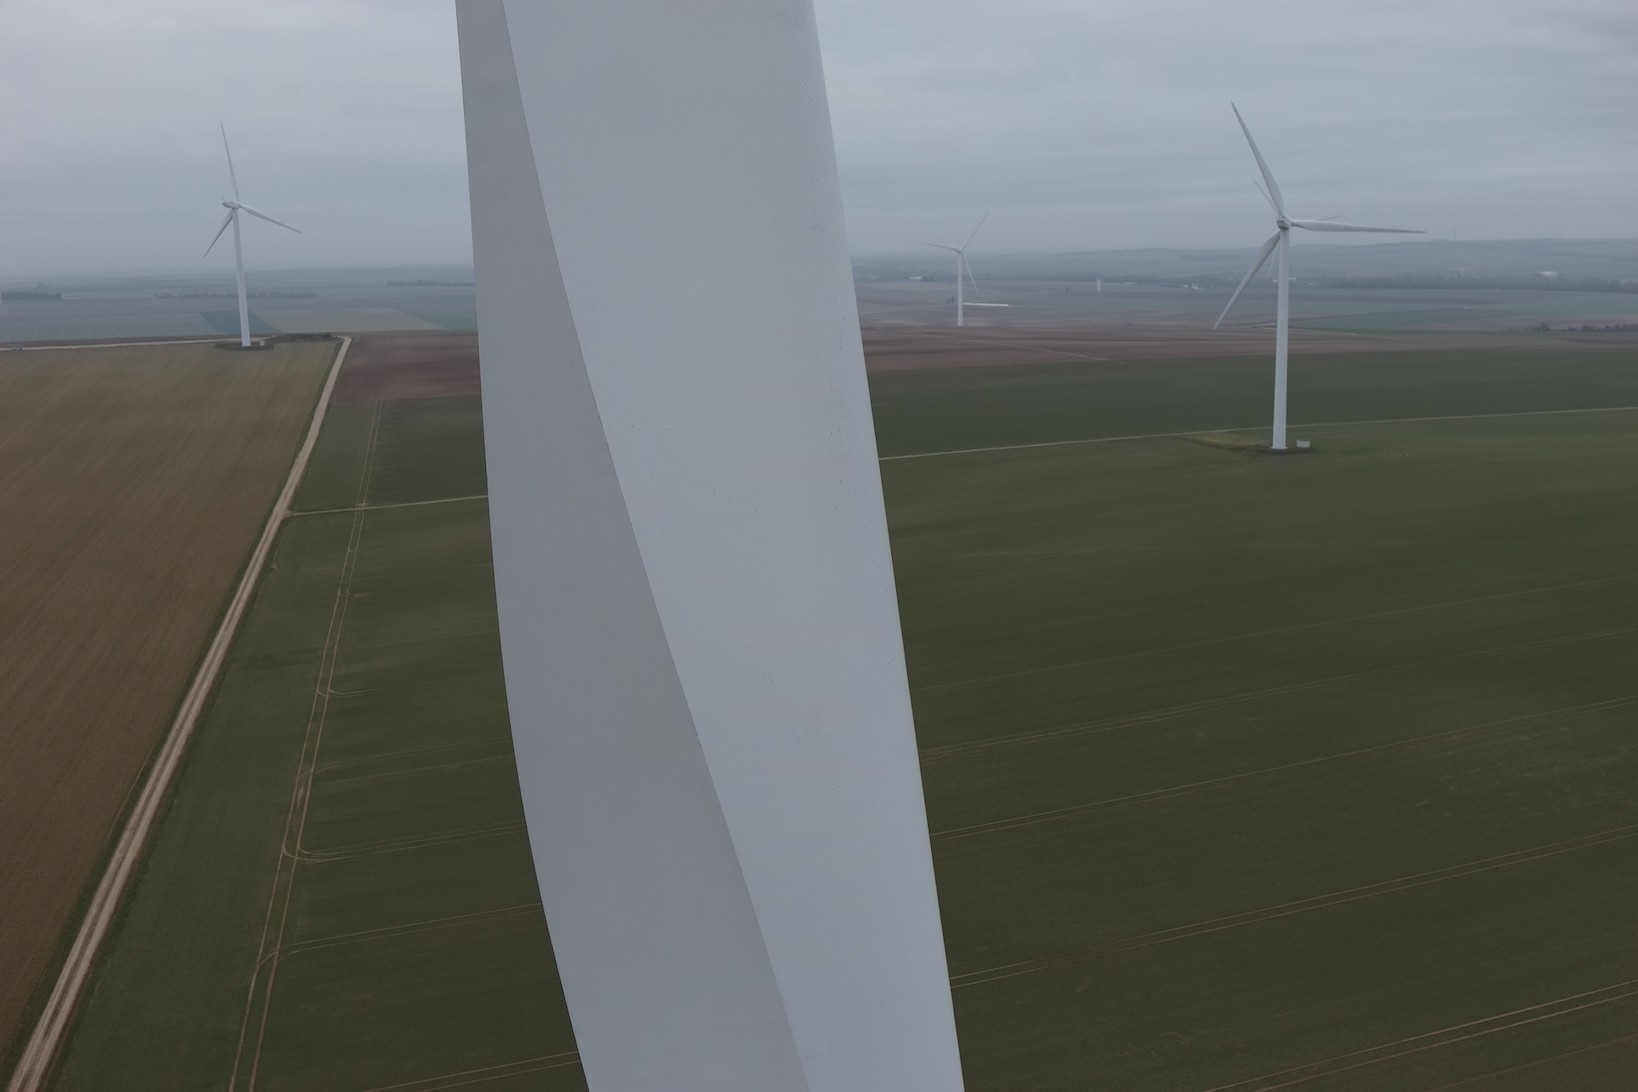
Let’s start with what we want: the goal of a blade inspection is to bring back pictures of the blade to view and qualify possible defects. This requires two things:
- pictures of all sides of each blade, to be sure that everything was captured
- pictures of good quality so that defects can be detected.
Here is a sample of the kind of pictures we desire:
 |  |  |
 |  |  |
Ground Sampling Distance
These pictures can then be expertised to detect potential cracks or other damages. This provides us with the most important constraint when doing inspections:
📝 Key Concept
The precision of the pictures depend on the camera and on the distance between the drone and the blade. If the drone is further than the flight distance that you selected, the quality will be reduced.
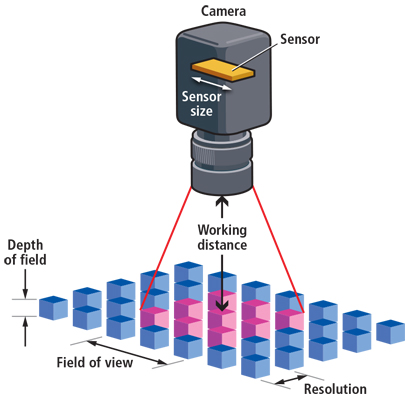 The size one of the pink squares correspond to the GSD : the Ground Sampling Distance.
💡 Remember
Quiz
What is the target GSD ?
Single answer
What influences the GSD ?
Multiple answers
Why is maintaining the target distance critical during inspections?
Single answer
Exposure parameters
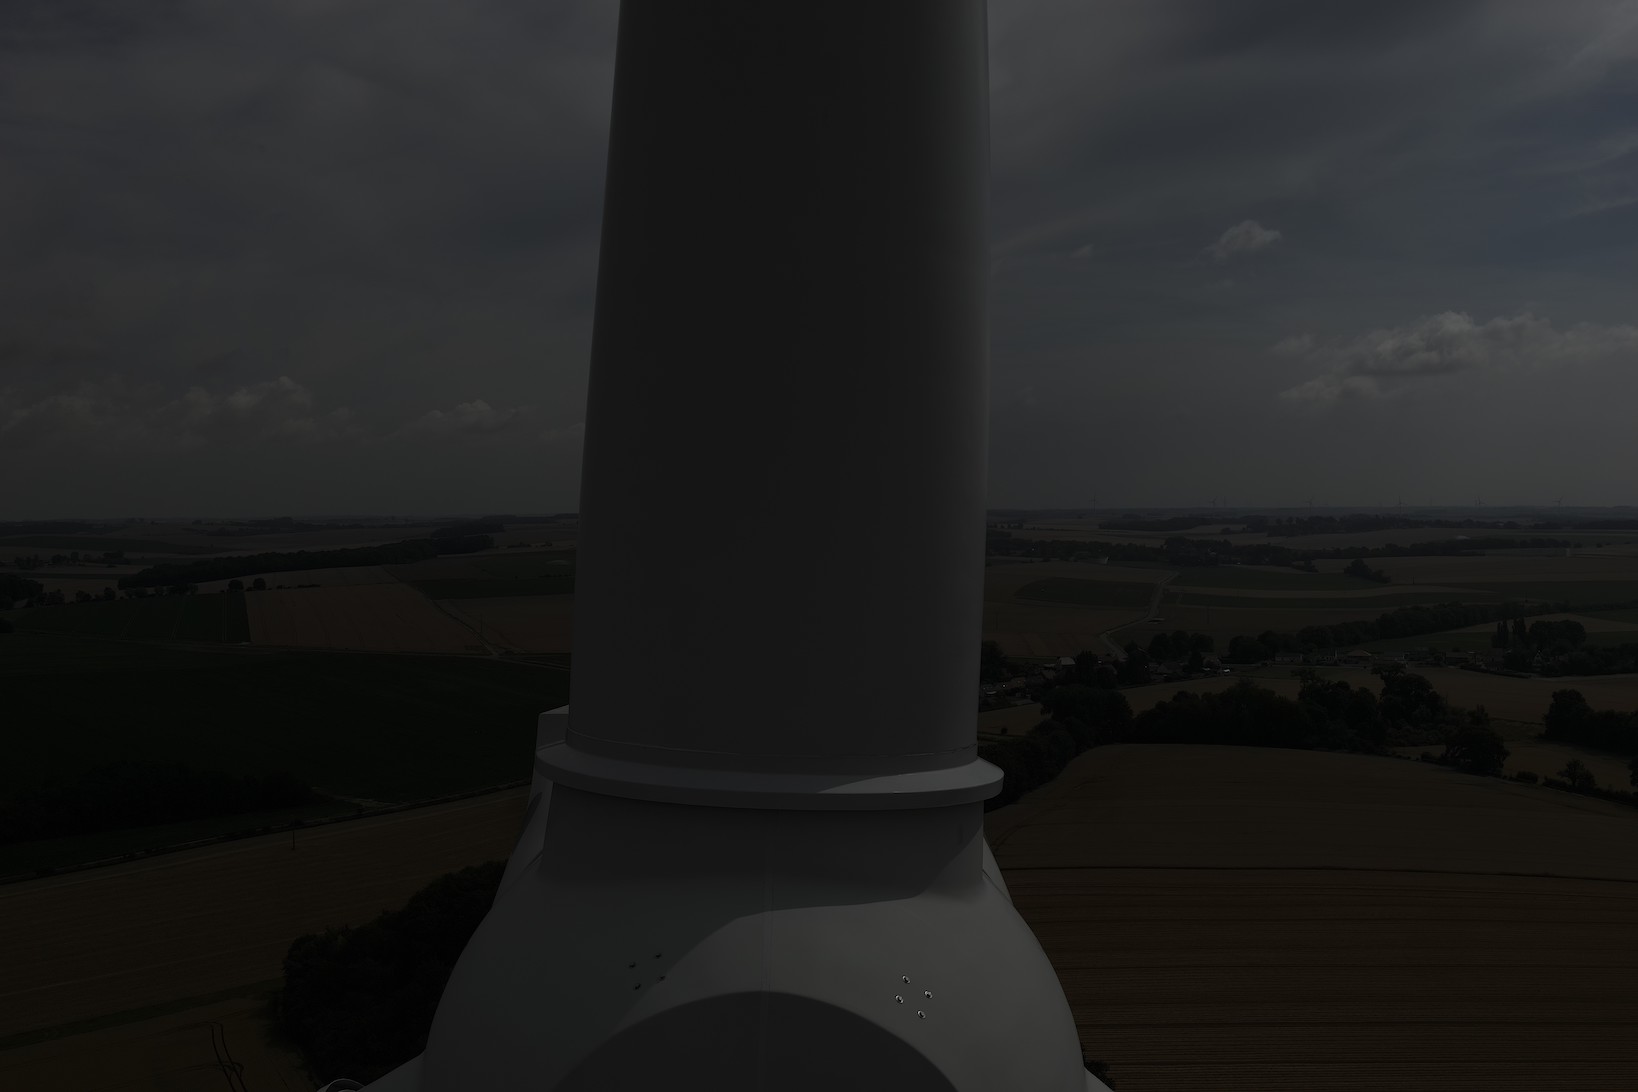
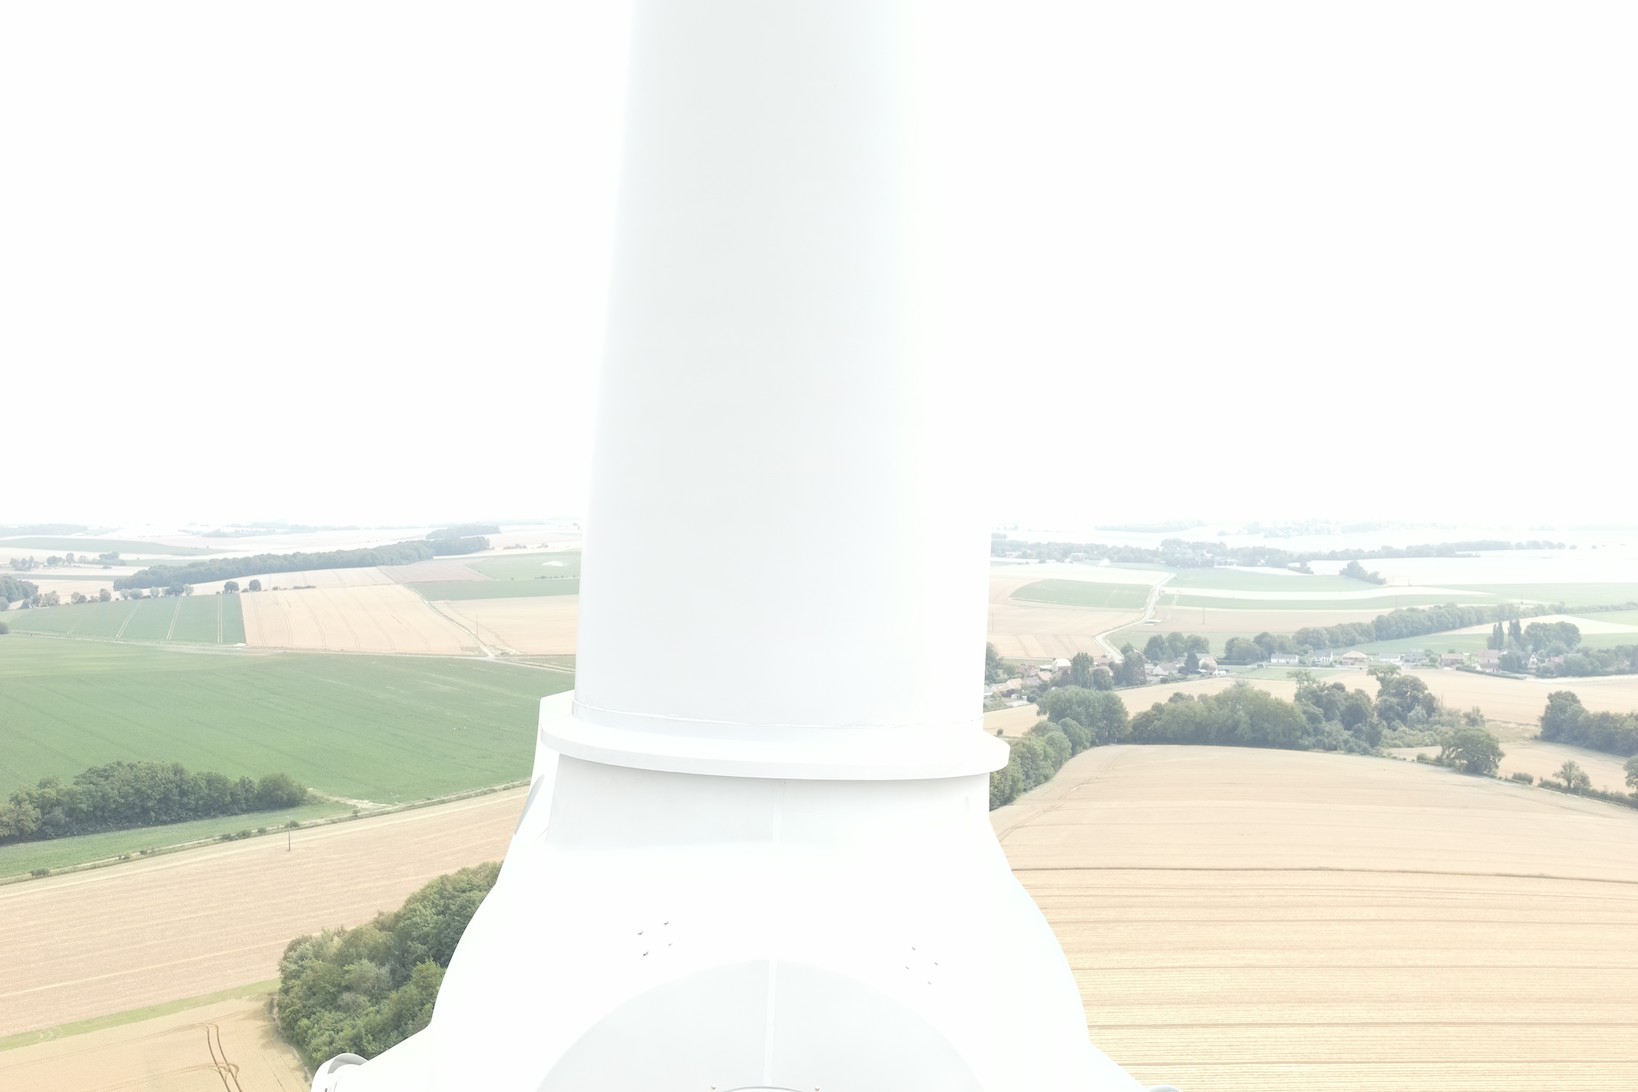
The second criteria for picture quality is a correct exposure: the pictures should be neither too dark nor too bright, because defects couldn’t be detected.
| Image too dark | Image too bright |
|---|---|
 |  |
⚠️ Warning
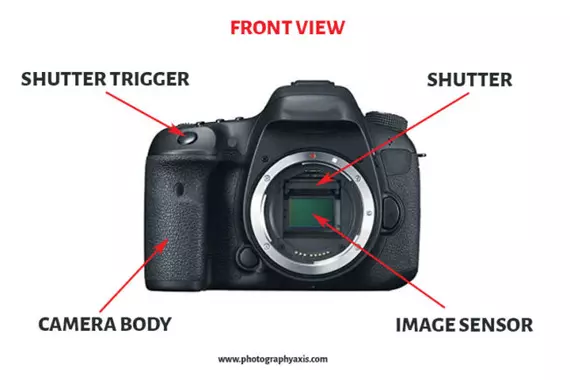
On any camera, three parameters dictate the amount of light which arrives on the sensor : the shutter speed, the aperture and the ISO.
Shutter speed
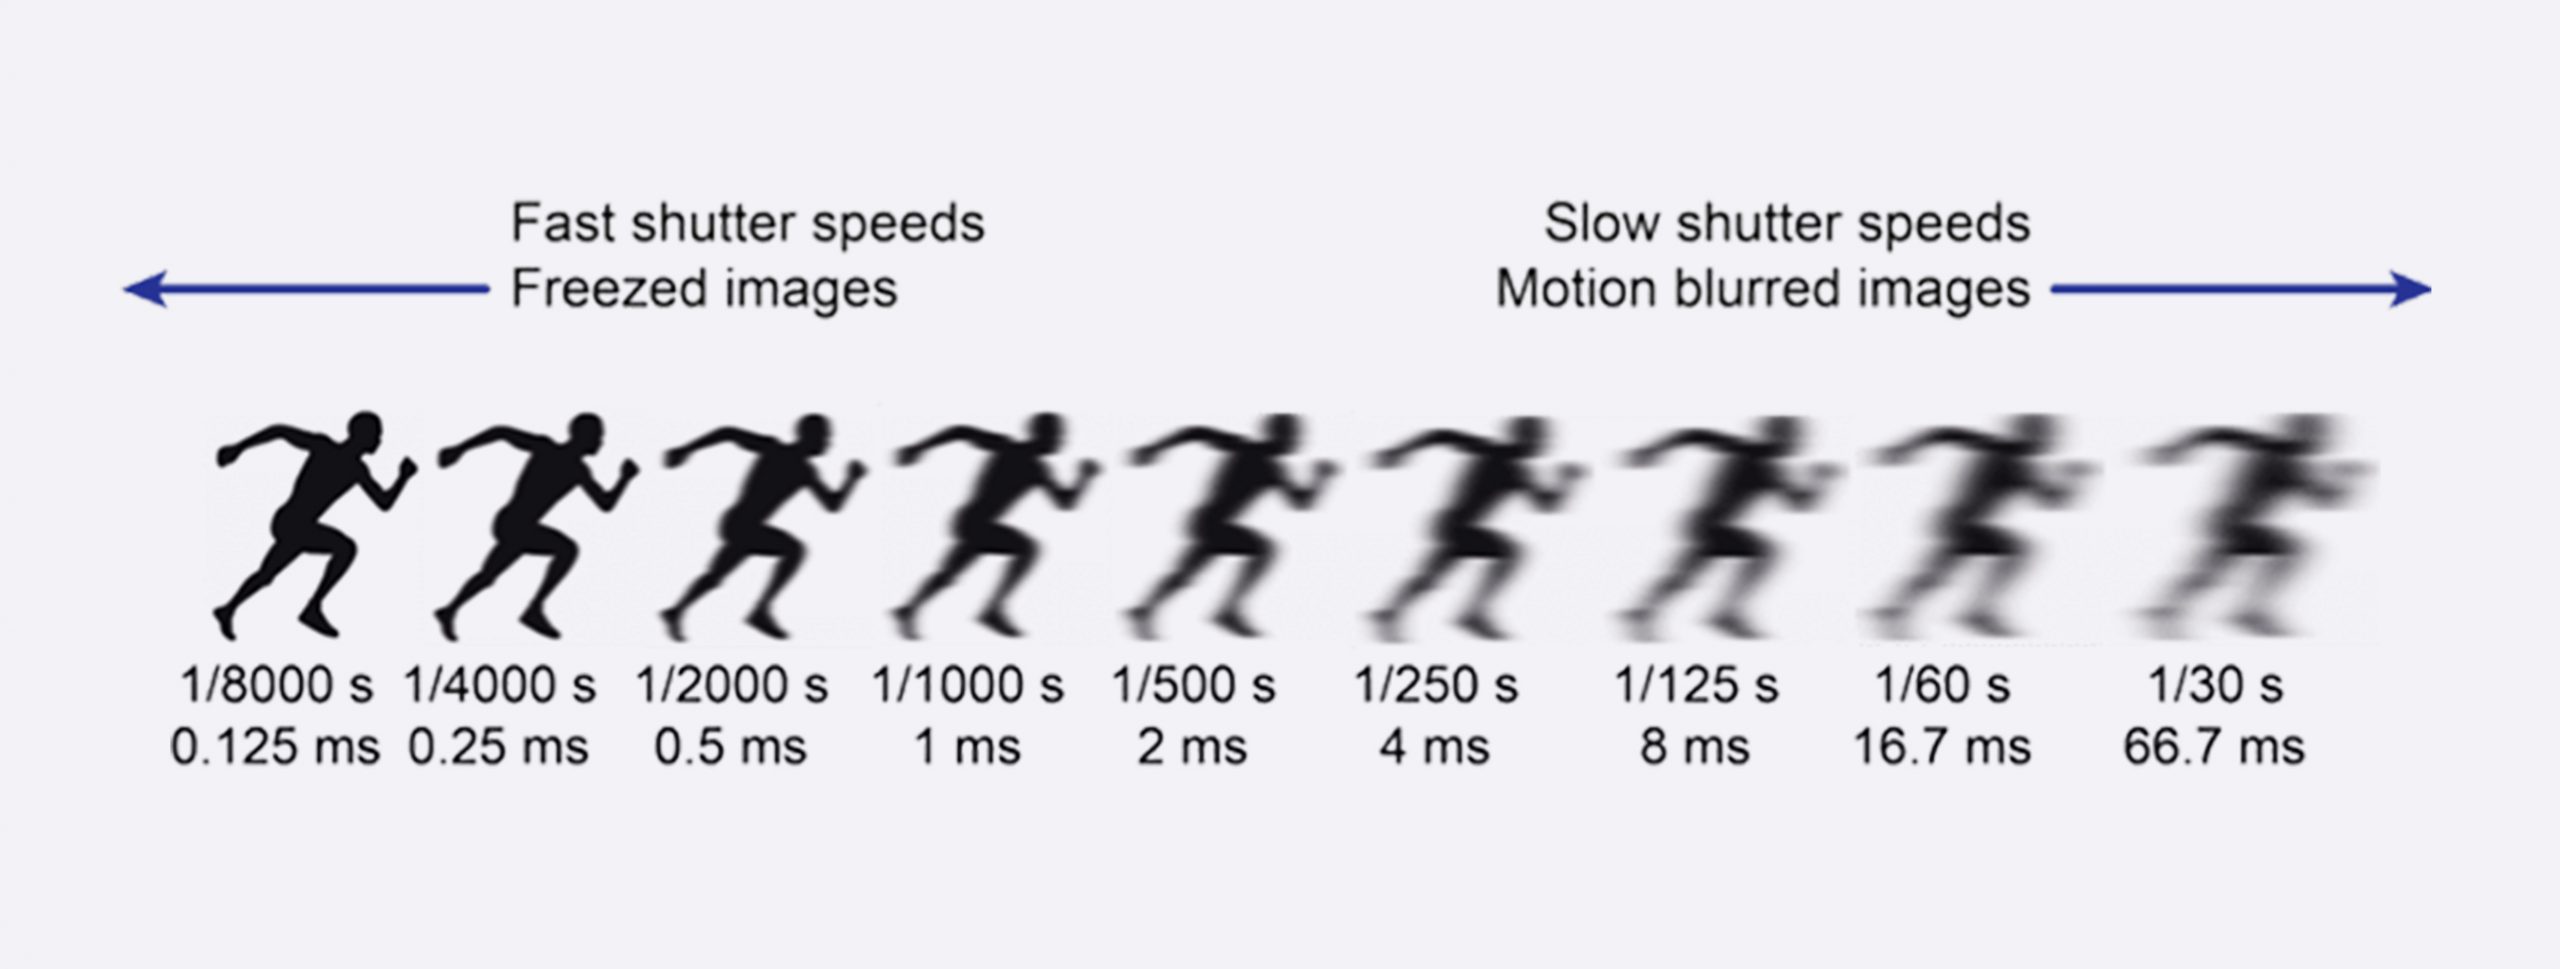
The shutter speed is how fast a picture is taken. The longer the diaphragm is open, the more light will reach the sensor.
However, if the shutter is open for too long, the image will become blurry become the target moves while it is open.
📝 In Practice
Aperture
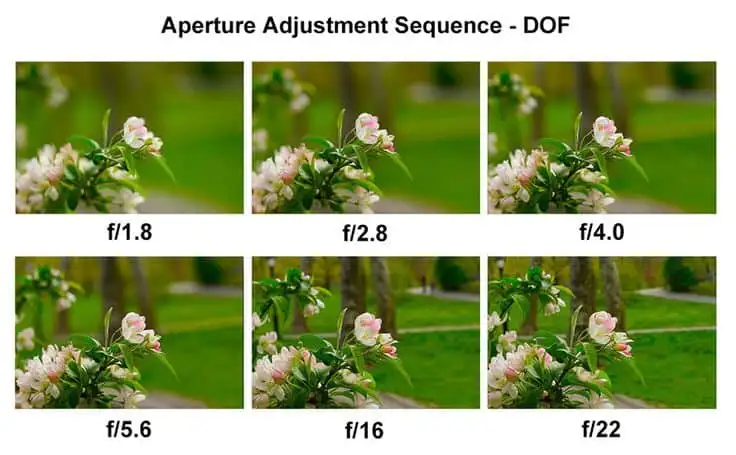
The aperture determines how wide the opening is. The wider it is, the more light arrives.

However, the more open the diaphragm is, the more blurry the image gets. That is how Portrait Mode works.
⚠️ Important
ISO
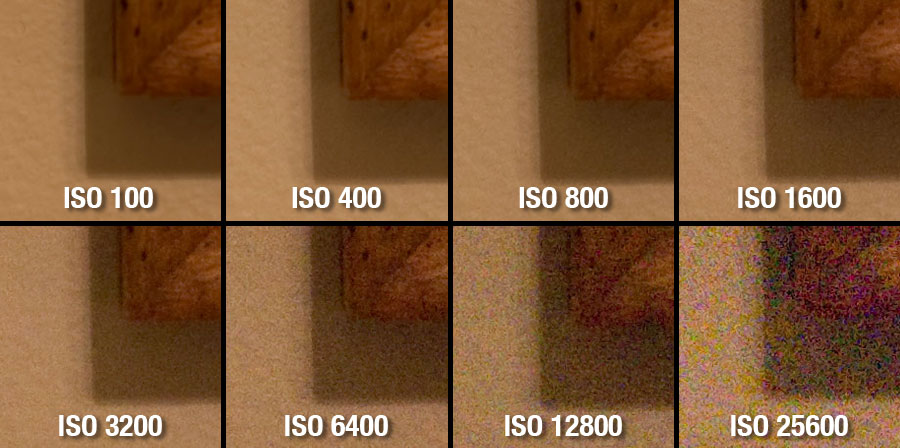
The ISO determines the sensitivity of the sensor. We can use a higher ISO to have a brighter image, but it will increase the noise on the image.
💡 Key Insight
Quiz
What makes the image blurry ?
Multiple answers
Why is a fast shutter speed necessary during drone inspections?
Single answer
What is the main disadvantage of using a high ISO setting?
Single answer
Histogram
One tool to help you decide is the histogram : it shows the repartitions of the pixels, from the darkest to the brightest.
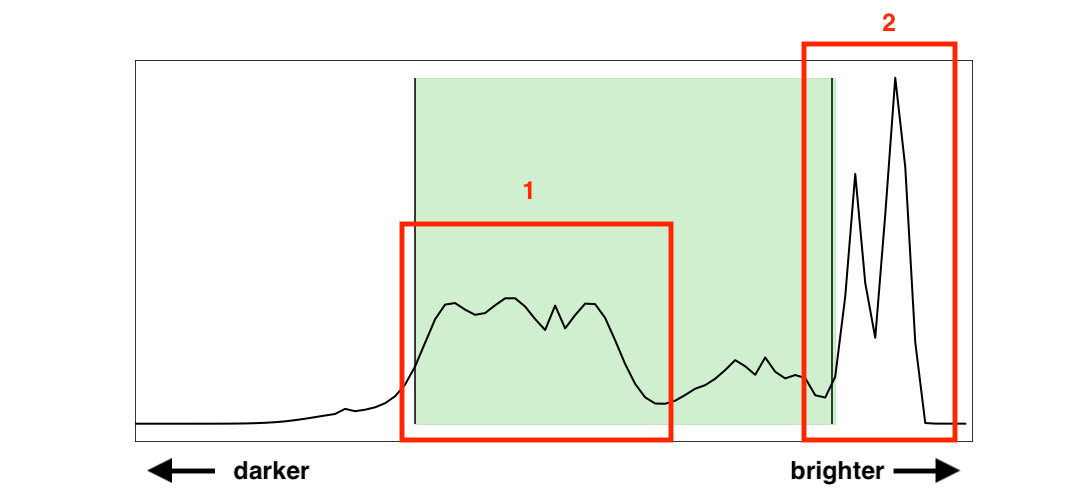
On this example, we can see two peaks : 1 and 2. If we look at the image that the histogram corresponds to:
We can see that:
- 1 corresponds to the darker part, so the ground here
- 2 corresponds to the brighter part, the blade and the tower
Here is an animation that shows how the histogram varies with the brightness of the scene. We can see the peak on the histogram (top right part of the image) moving to the right as the image gets brighter.
Quiz
What is the purpose of a histogram in photography?
Single answer
Which element must be properly exposed in blade inspection images?
Single answer
Why might a saturated (overexposed) background be acceptable in blade inspection?
Single answer
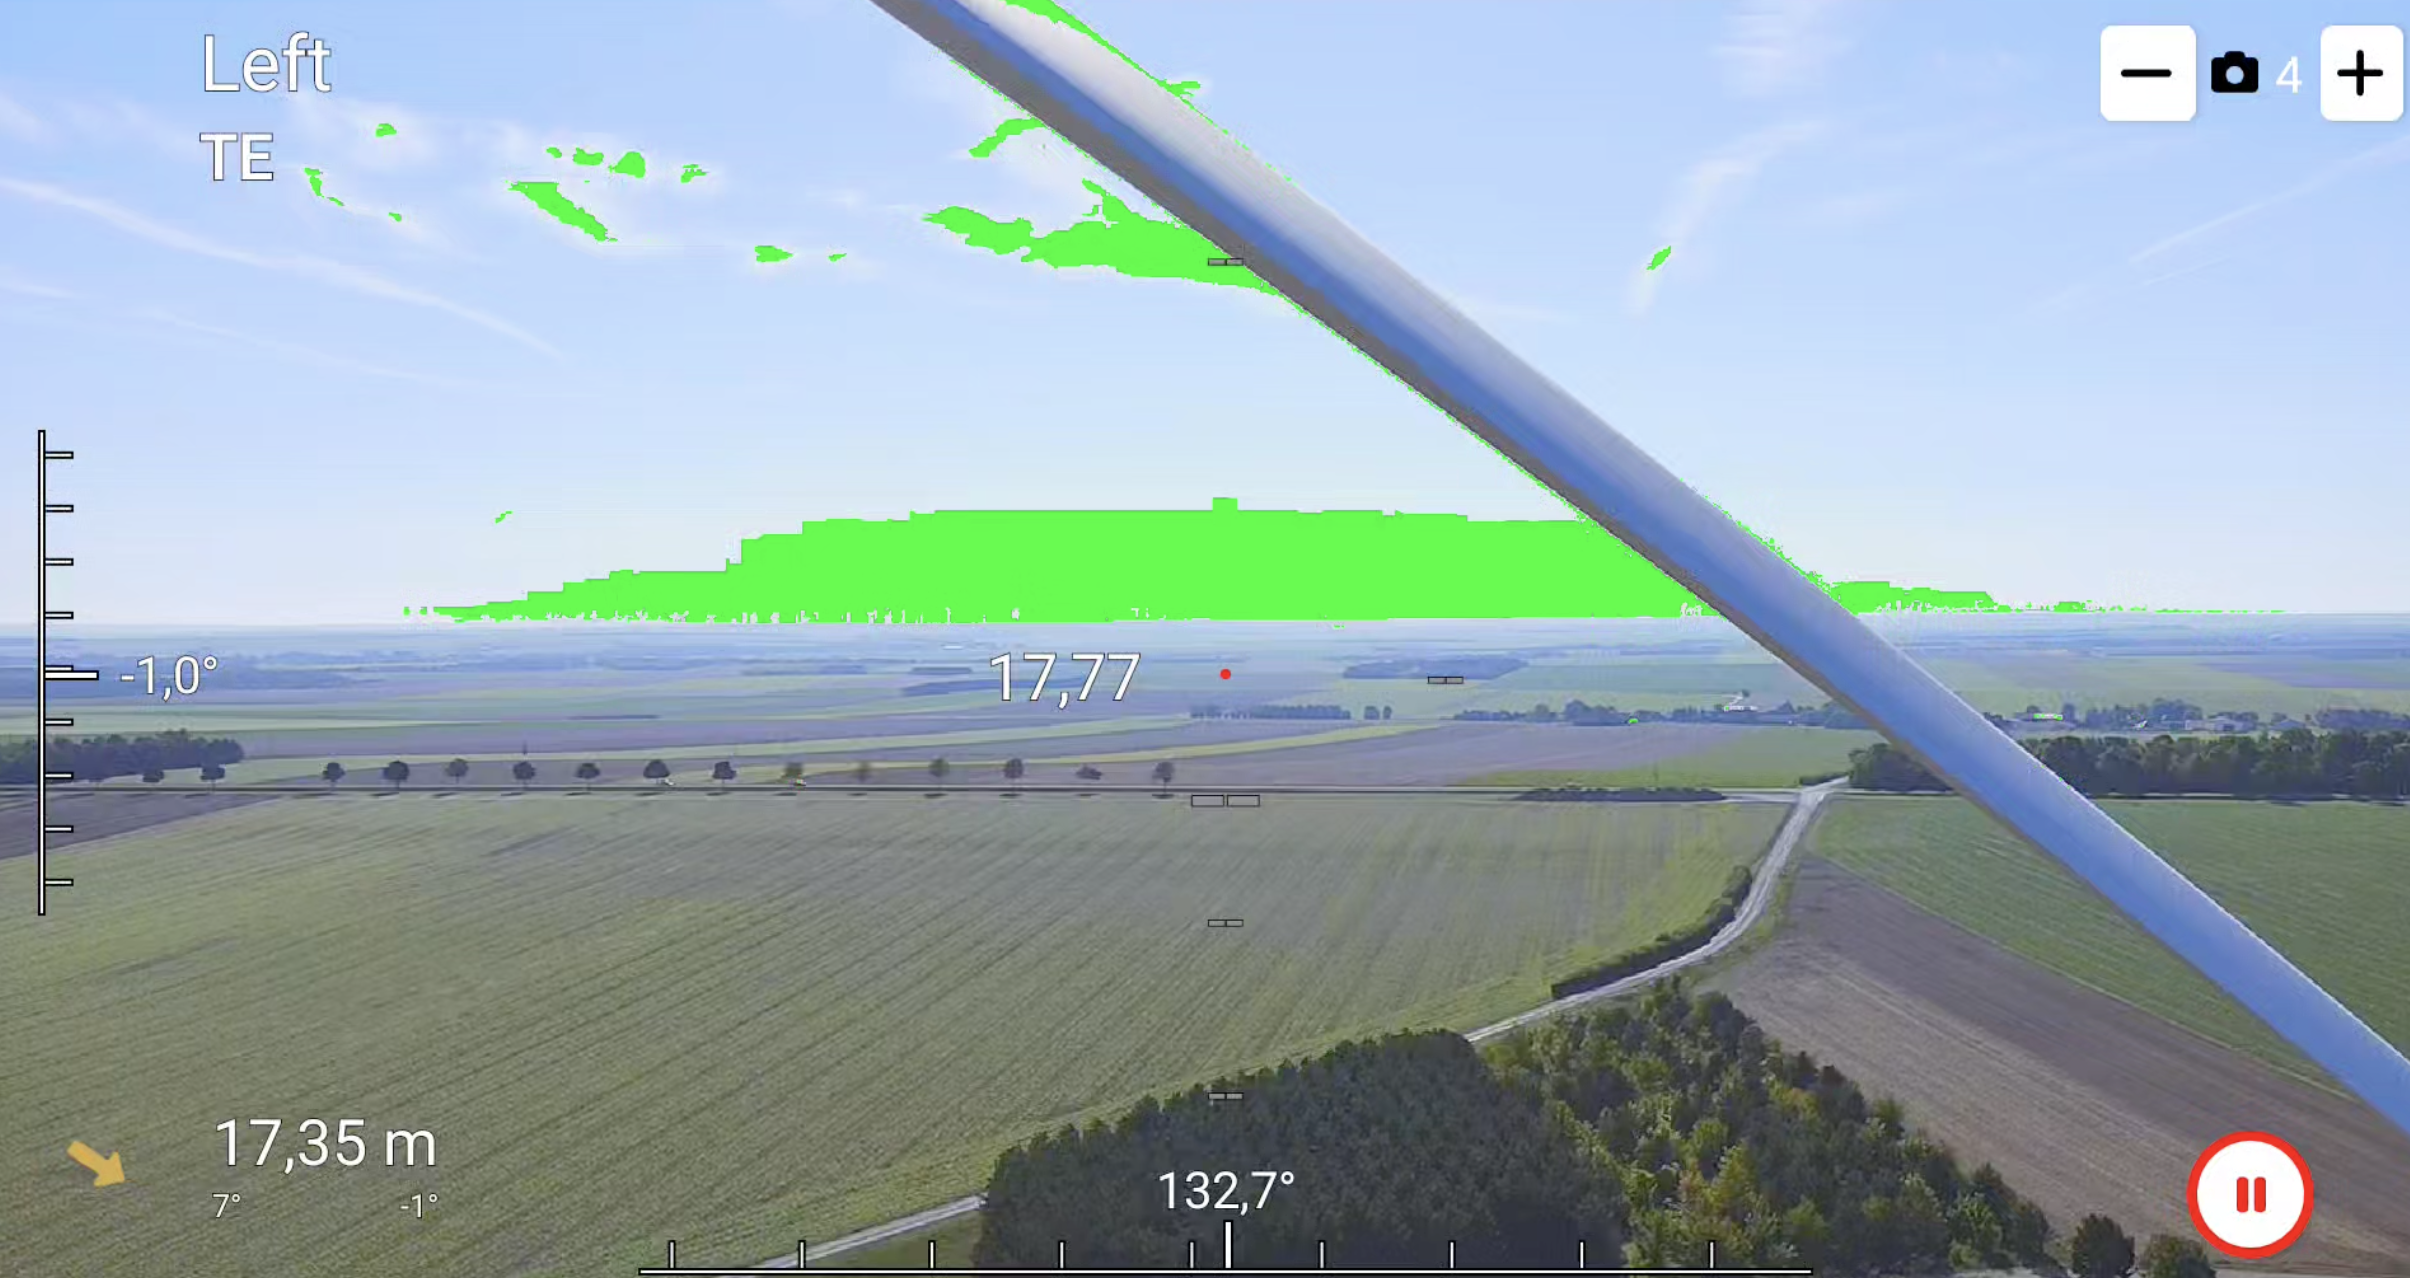
Additionnaly, the green parts of the image indicate the regions which are saturated (too bright). This does not necessarily mean that the image is too bright though : only the blade needs to be properly exposed.
💡 Pro Tip
On the Cornis Drone App
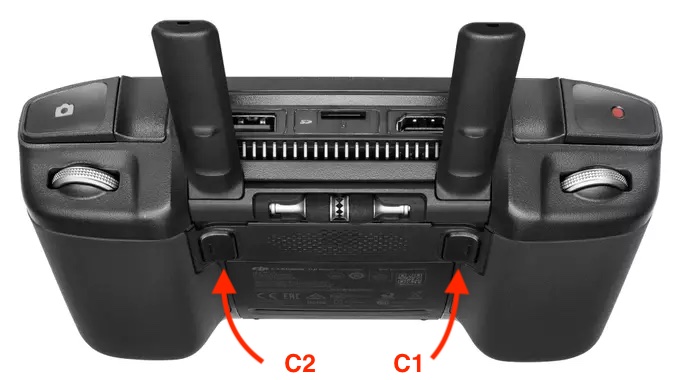
During the inspection, you do not have to choose the parameters separately, the software will do it for you. There are a set of exposure values, and the pilot has to choose the one which is the most appropriate to the situation. To change the exposure, use the buttons C1 and C2 at the back of the remote.
Focus
However, even if the pictures are correctly exposed, there is one last thing we need to check : that the focus is correctly done. The focus correspond to the distance from the camera where the image is sharp. Closer or further, and the image becomes blurry.
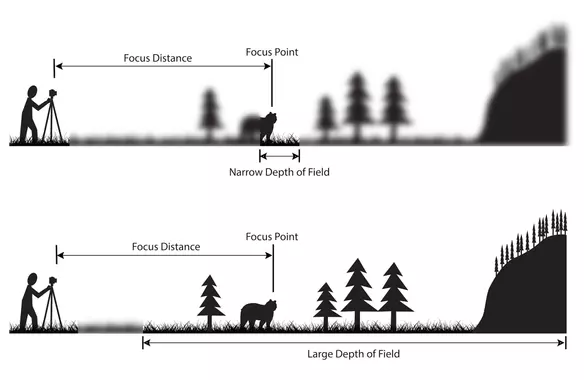
The depth at which the image is sharp is called the depth of field. On the M300/M350, this is about 1m. As discussed earlier, this varies with the aperture used.
To change the focus, find a point with a lot of contrast on the image and double clic it. Make sure that you do not select a white surface, because the camera will be unable to find the correct focus if there is nothing to focus on.
Quiz
What is the depth of field and why is it important for inspection?
Single answer
Why should you avoid selecting a white surface when adjusting focus?
Single answer
What is the approximate depth of field on the M300/M350?
Single answer
Final quiz
What is the relationship between aperture and depth of field?
Single answer
Select the parameters that control the exposure of the camera
Multiple answers
What is the main trade-off when balancing the three exposure parameters (shutter speed, aperture, ISO)?
Single answer
✅ Chapter Summary
Congratulations! You’ve completed the introduction to photography for blade inspection. Here are the key takeaways:
🎯 Key Points to Remember
- Ground Sampling Distance (GSD): Target is 1mm/px to detect defects smaller than 1mm
- GSD depends on: Camera resolution and distance between drone and blade
- Three exposure parameters:
- Shutter Speed: Fast speed (1/1000s) prevents motion blur
- Aperture: Smaller aperture increases depth of field, prevents blur from distance variations
- ISO: Keep as low as possible to minimize noise
- Exposure trade-offs: Balancing light capture vs. image artifacts (blur, noise, shallow focus)
- Histogram: Shows pixel brightness distribution, helps assess proper exposure
- Focus on the blade: Only blade exposure matters, background saturation is acceptable
- Depth of field: ~1m on M300/M350, focus on high-contrast areas
💭 Before moving on…
Make sure you understand:
- Why maintaining proper distance is critical for defect detection
- How each camera parameter affects image quality
- The concept of acceptable trade-offs in exposure settings
Ready for the next chapter on inspection procedures? Let’s go!